The wardrobe door is closed, but light still escapes around its edges. Or you open the cabinet and the shelves remain dark. Both symptoms can involve the door sensor, but they need different checks. Record what the light does as the door moves, then separate the door-detection problem from the power and control path.
Start With the Symptom
Light stays on: Check whether the closed door reaches the sensor's detection area and whether every relevant door is closed.
Light will not turn on: Check the lighting supply and connections, then the sensor input. For a wireless sender, also check its battery and receiver pairing.
Light switches unpredictably: Repeat the same door movement and note the exact position where the response changes.
Identify the Sensor and Its Control Path
Read the sensor, driver and controller labels before adjusting anything. A wired door switch and a battery-powered wireless sender have different troubleshooting paths. A PIR sensor responds to human movement; its timing should not be assessed as if it were a door-position switch.
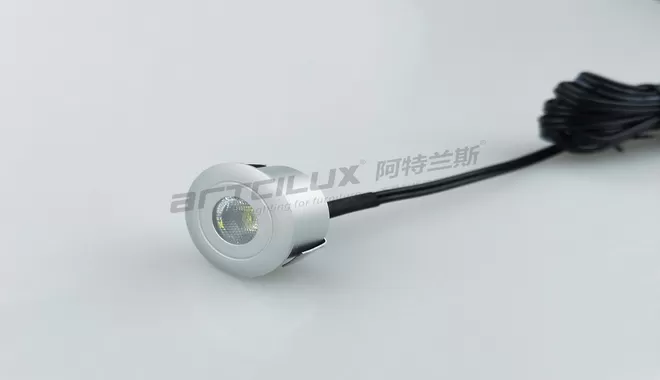
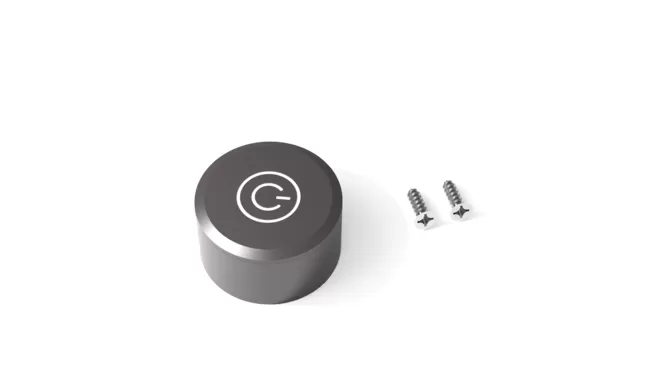
These three ARTCILUX examples show why one sensing distance or supply voltage cannot be applied to every cabinet door sensor.
| Model | Supply / Listed Load | Listed Sensing Data | Useful First Check |
|---|---|---|---|
| S1602.1S / S1602.2S Wired single / dual door sensor | 12V / 24V Listed load power: 60W | 3-5 cm sensing distance | Sensor position, head connections and the required single- or two-door behavior. |
| S1802 Wired infrared door sensor | 12/24VDC Maximum load: 30W | Dark wood: 6 cm +/- 3 cm Light wood: 10 cm +/- 5 cm | The actual door material and the gap measured from the sensing face. |
| S1312SE Wireless door sensor sender | 3.0-3.3V sender supply CR2450 battery | 1-3 cm sensing distance 2.4 GHz transmission | Battery installation, detection position and pairing with the correct receiver. |
Scroll horizontally on smaller screens. Listed sensing data is a starting point for a sample test, rather than a guaranteed switching point for every door finish.
The S1312SE battery powers the sender. The receiver and LED lights still need their own suitable supply. Follow the selected system's wiring diagram when tracing that path.
Cabinet Light Stays On When the Door Is Closed
For a system configured as door-open = light-on, start with the closed-door detection position. Check whether the symptom began after a hinge adjustment, door replacement or change to the sensor mounting.
1. Check What the Sensor Faces
With a non-contact infrared model, the closed door must present a suitable target in the detection area. Measure the gap from the sensing face to the inside of the door. Check whether the sensor faces the panel, a gap between doors or a recessed section that sits farther away.
Move the door slowly through its normal closing movement and record where the light changes. A response only when the door is pushed beyond its usual closed position points toward a mounting or alignment issue worth checking.
2. Test the Actual Door Finish
The S1802 page lists different sensing data for dark and light wood. A test with your hand or a pale sample board therefore does not establish how the finished cabinet door will behave.
For reflective optical sensing, surface color and texture can affect the returned light. OMRON's explanation of photoelectric sensing describes this principle. Compare a sample target with the actual door at the same position, then approve the installation using the finished door.
3. Check the Other Control Inputs
In a two-door cabinet, a second sensor may still be reporting an open door. A receiver may also accept commands from another paired control. Close each door separately, note the result and check the configured control behavior. Confirm the documented logic before treating a continued light-on state as a failed switch.
Cabinet Light Will Not Turn On When the Door Opens
Establish whether the light group can operate through another supported control. If a correctly configured remote or touch control operates that same group, the lights and supply have worked under that test condition. Continue with the door input, its connection and its assigned group.
Confirm the lighting supply. Check the external power switch and the driver output voltage stated on its label. The selected driver, switch or receiver and LED lights must be compatible. A working sender battery does not establish that the LED circuit has power.
Inspect the low-voltage connections. Switch off the system supply before moving connectors. Check plugs at the driver, controller, sensor head and light group against the wiring diagram. Look for a loose plug or a cable trapped at a hinge or panel joint. Leave mains-side connections and driver internals to a qualified installer.
Clear the open-door detection area. For an infrared door sensor, an item stored in front of the sensing face may continue to act as a target after the door opens. Check nearby clothing, boxes and the adjacent door throughout the opening movement.
Check the complete circuit's load limits. Add the connected lamp loads and review the driver, sensor, receiver and distribution ratings. The S1602 range lists 60W; S1802 lists 30W. The selected assembly must stay within every applicable limit.
Change one thing per test. After correcting one connection or removing one obstruction, repeat the same door movement. Record the result before changing another part.
For the connection layout, refer to the cabinet lighting installation guide alongside the selected model's wiring instructions.
Wireless Door Sensor: Check the Sender and Receiver Separately
Battery: S1312SE specifies a CR2450 battery. Check its installation against the marked polarity and use the specified replacement type. Panasonic's CR2450 data sheet identifies this as a nominal 3V coin cell; it belongs to the sender side of this system.
Pairing: Verify the receiver model, supported sender and assigned light group. Matching the 2.4 GHz frequency alone does not establish compatibility. Use the receiver's actual pairing instructions.
Installed position: If the manufacturer permits a temporary test position, repeat the same sensing action closer to the receiver. If it works there but fails in the final position, review the communication path and installation conditions before replacing the sender.
Keep the target material and sensing gap consistent when comparing positions, so the test does not change door detection and wireless placement at the same time. Check the final assembly with the cabinet fully fitted. See the wireless sensor switch range for sender types and system selection.
Test All Four States of a Two-Door Cabinet
If the project requires the light to stay on whenever either door is open, use the following acceptance table. Confirm that the chosen sensor and controller support this behavior. A dual-head product name alone does not define its control logic.
| Left Door | Right Door | Required Light State | What This Checks |
|---|---|---|---|
| Closed | Closed | Off | Both closed-door targets are detected correctly. |
| Open | Closed | On | Left-door input operates the required light group. |
| Closed | Open | On | Right-door input operates the required light group. |
| Open | Open | On | The combined door-input behavior matches the project requirement. |
Close the doors in both orders. If closing the first door switches the light off while the other remains open, review the control logic and head assignment. If the fault appears only near the final closed position, recheck the door gap and alignment.
Questions Before Adjusting or Replacing a Sensor
Does every cabinet door sensor need a magnet?
No. The S1802 is named a door contact sensor switch, but its product page specifies non-contact infrared sensing. Check the model's actual detection method before looking for a magnet or a mechanical contact.
Should I reset a wireless receiver first?
Record the existing sender and group assignments, then check power, battery and detection position. Use a reset only according to the receiver's instructions, including what it changes. Resetting can alter a working control arrangement and does not correct a door-position problem.
Can a replacement sensor use the same plug?
Plug shape is only one check. Confirm voltage, pin assignment, load rating, control interface, detection method and door logic. For a wireless sender, confirm receiver compatibility as well. Review the cabinet sensor switch options with the complete system specification.
Send the Fault Sequence With Your Model Details
For an ARTCILUX system, send clear photos of the sensor and driver labels, the receiver model if fitted, and the low-voltage connection layout. Include the connected lighting load, door finish and measured sensing gap.
A short video showing the light as each door opens and closes helps us review the fault. Note whether the system ever worked correctly and what changed before the problem began.
Contact ARTCILUX About a Door Sensor ProblemEmail: sales@artcilux.com